Shortly after it was decided what bushings we were going to be using, I jumped feet first ready to go into every avenue I could find that could give me (a DIY kinda guy) a firm grasp on understanding not only the task I wanted to tackle, but the purpose of the part and what the replacement would do to increase performance. After browsing forums, youtube videos and articles I came across 240sxtechdvds.org. These guys came across as being quite helpful, and very knowledgeable about the platforms they dealt with, repairs and replacements and of course, maintenance. They have a few "teaser" videos on youtube and they give links to their site in the subject line of each of them. I decided to take a mouse click trip to it and what I found was a easy to use and understand explanation of every video, of which they have a great deal of, and a no pressure sales option. I opted for only three of the DVD's just to see if the youtube videos portrayed what the actual videos held in store. I was very pleased. The shipping was fast after a quick paypal payment and there was never any hassle or communication problems with the site owner/operator. The videos are from the eyes of the mechanic, getting close looks at hard to see places, and even an explanation of what size wrenches to use. The walk-through style videos go step by step, explaining not only the S14 chassis, but the difference from that to the S13 chassis. My suggestion to anyone wanting to start going beyond oil changes and tire rotations, go over to the site and see what they can offer you, you will not be disappointed.
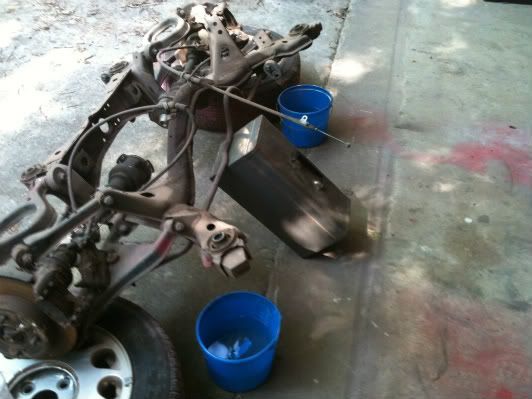
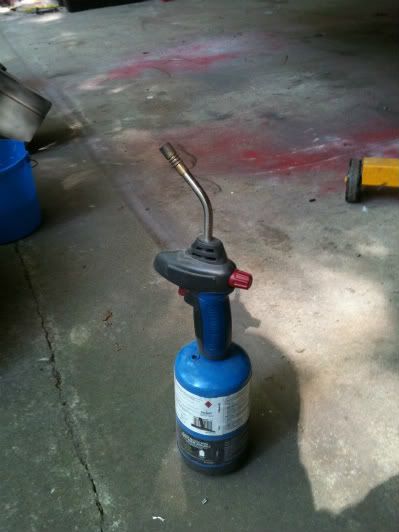
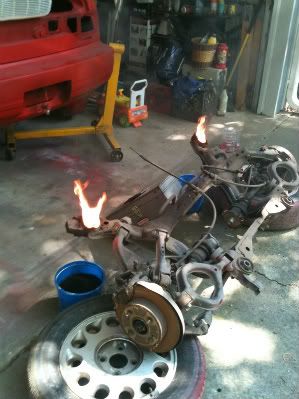
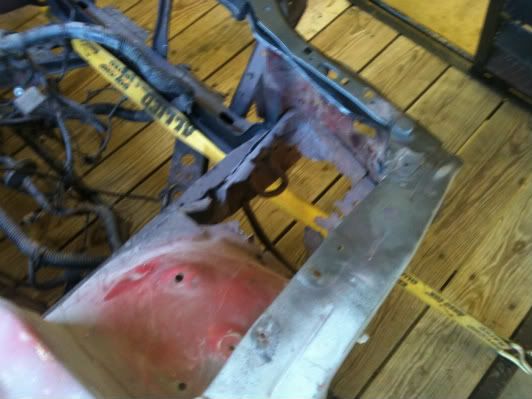
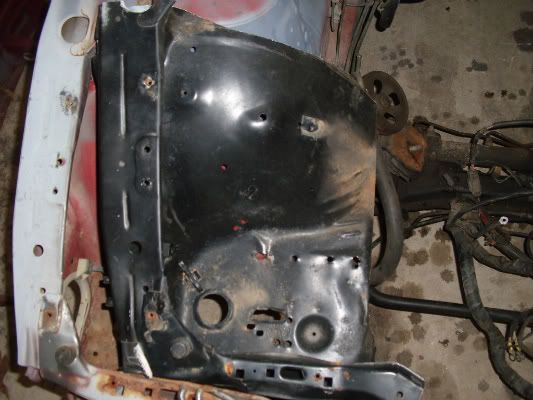
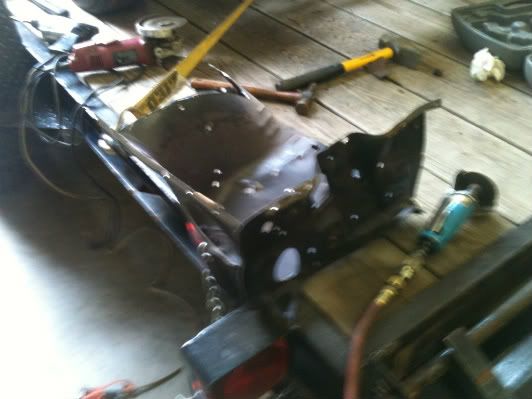
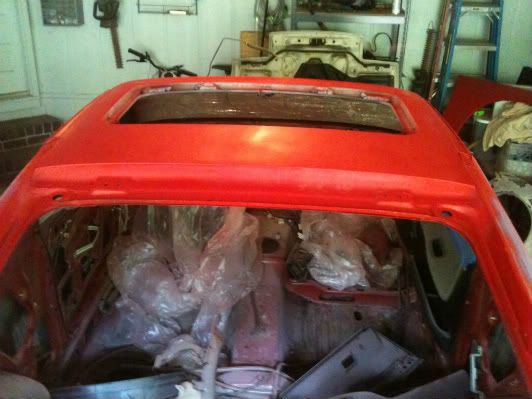
Now that I have gone on with my review of that, let's get to what you really want to see and hear. Yes, I jerked the sub-frame out from under the rear-end of the car, using the DVD narrator's suggestions and walk-through. It was much easier than what your normal daily driver car would have to go through since the car does not have any drive-train, differential, or exhaust piping to remove to get access. I've also got to admit that by having the hatch off and no interior getting in the way made it so very easy to take the air wrench to the top shock bolts. Within minutes I dropped the sub-frame, and pulled it out from under the car. I got a good look at the bushings and was quite surprised that they were still in good condition. No tears or any marks showing the wear I expected to see for the cars age. Knowing that it didn't matter though, I pulled up one of the tires for a seat, light the propane torch that the DVD suggested for burning out the old bushings and got to it. After a few minutes I was relieved that I still had my mask from the painting portion because that smell was thick. After a few hours of torching and scrapping away at the bushings while they burned, a good portion was gone and I was ready to start taking a flat-head screw driver to the remaining bits still clinging to the sleeves. Let me tell you now that if you think for one second that you can do this task in one day, you have a level of patience I will never obtain. After so long of sitting on the tire, lighting one smoke after another, I was finally happy with the amount of material I got out of ONE sleeve. Yes, just one. It is very time consuming to get the material removed and made me consider switching to solid bushings with rubber washer like materials on either side, but I have to tough it out to make sure what is voted for is what gets installed. I took a few pics of the sub-frame, the burning process, and the propane torch I used to get them burned out.
