Total Pageviews

Saturday, May 28, 2011

May 27, 2011

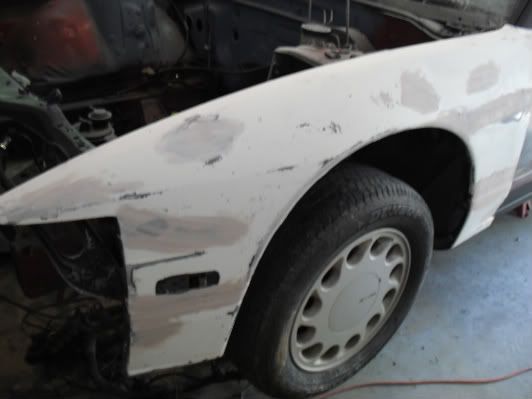
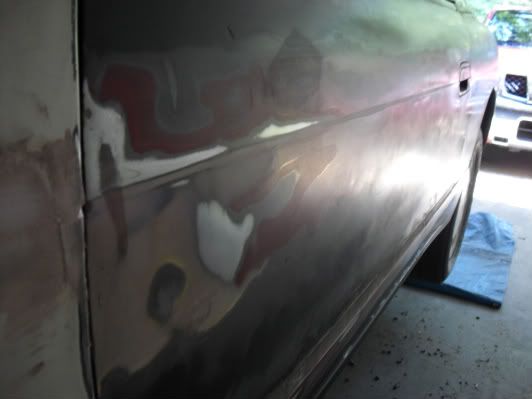
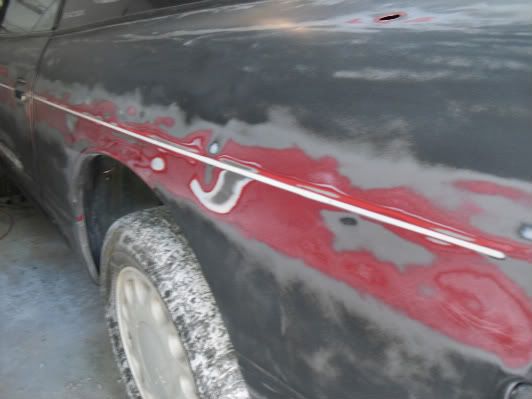
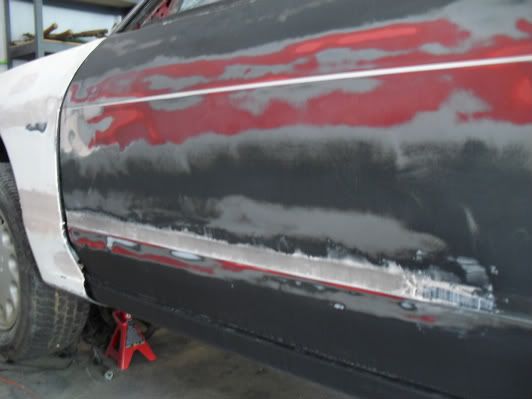
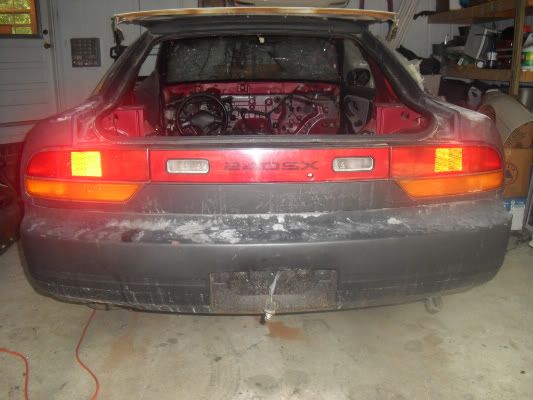
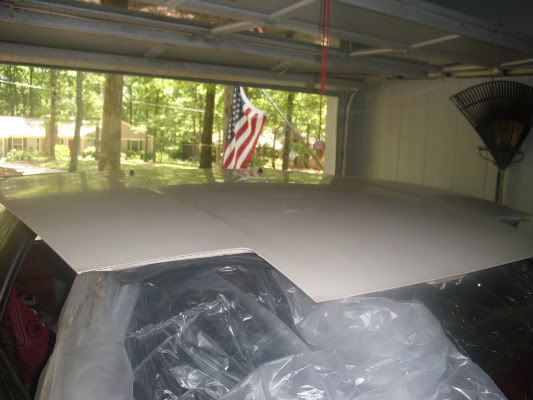
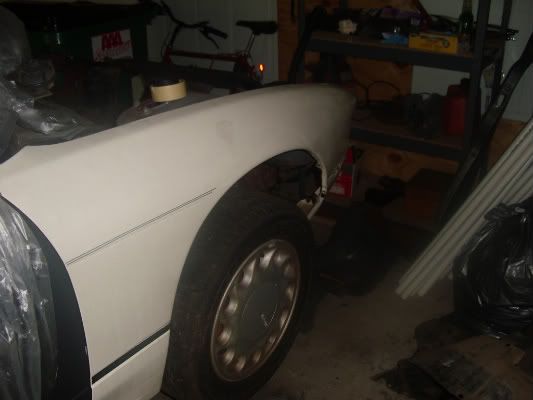
So, after finally taking the camera over to the house, I snapped some pictures of what's really going on with the body work. You'll see in the following pictures that I have filled some dents with Bondo, as well as started to fill the top line that spans from the front fender to the rear quarter panel. I was very pleased at it's outcome and started to look at the lower line that runs around the whole car. I snapped a shot of the start of filling this line in. I would like as much feedback as possible on the lower line and I'll tell you why. The lower line will take an amazing amount of time, work, and anger. Not to mention, because the bottom portion of that line protrudes more, the Bondo will not only have to cover that area, but it also needs to be spread up higher so as to refrain from getting any edges out of it. That is the best reason, for me anyway, to just use my rust removal tool on the drill and just get rid of it. I'm not too fond of the thought of having that much Bondo on there just to rid myself of that line, and to be honest I kind of like that line since it wraps the entire car.

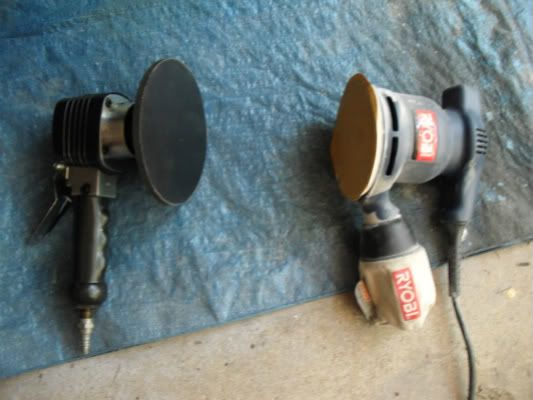
Now onto the tools I am using. If you are just now starting to read this, then I must tell you now that I have never in my life done any sort of body work or painting, I've focused most of my attention on the mechanics of a car, but this car is my learning piece and I would like to have my hand complete as very much of this project as I can. I spend hours on end, reading forums, watching youtube videos all with the intent on learning the best way to complete the task that I will be focusing on. I first started sanding with this car by hand with a high grit sandpaper, and when my shoulder started getting soar, I figured there must be a better way, so I used the almighty Google. I ended up finding out about the sanding equipment I am using by reading forums. Everyone was saying that a good DA (Dual Action) sander is the easiest way to get the sanding time down on this type of work. A buddy of mine just so happened to have an electric one, but I also found one on Ebay that was an air tool going for a steal of a price, so I picked it right up in the last minutes of the auction. Capcityoutlet was the seller, and the shipping was a good price, since the product was used and very cheap for the auction win price of $14.50. The product was bubble wrapped to perfection and came in a box flooded with packing peanuts. This guy wanted to make sure the product got to me fast and in good shape and it did.

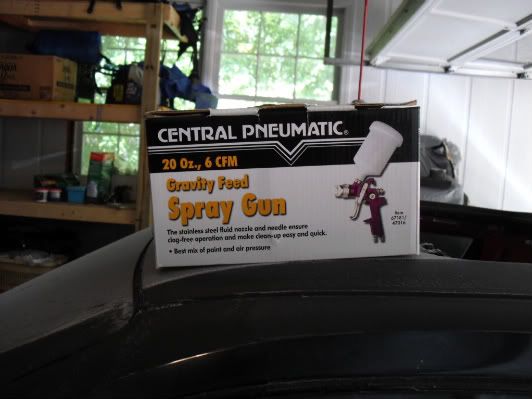
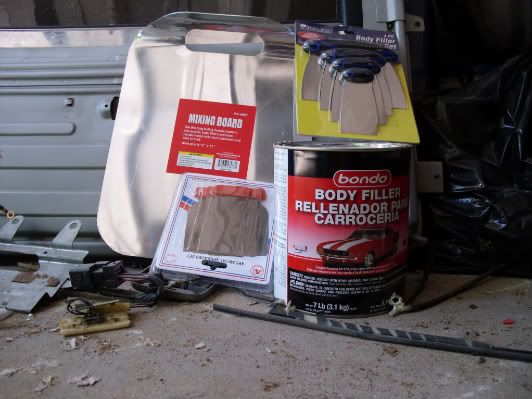
As for the Bondo that I started using, runs about $30 a gallon at Auto Zone, I bought it with the plastic spreaders which were about $2. I wasn't too fond of them so I bought some metal spreaders at Harbor Freight. When I get a chance to use them, I'll post up what I thought of them for use, and the ease of cleaning. I've got to admit, the spray gun was pretty cheap, Harbor Freight had them on sale for $15 and I wanted to see what $15 would get me, and as you have seen on the fender, it did quite well. They also had respirator masks, which I highly suggest for use when painting, for about $20-$22. Easy to use and the filters are interchangeable for newer ones if you want to go that route. Enough of the boring stuff, I'll let this conclude with the pictures.
Photobucket
Photobucket
Photobucket
Photobucket
Photobucket
Photobucket
Photobucket
Photobucket
Photobucket
Photobucket

Saturday, May 21, 2011

May 21, 2011

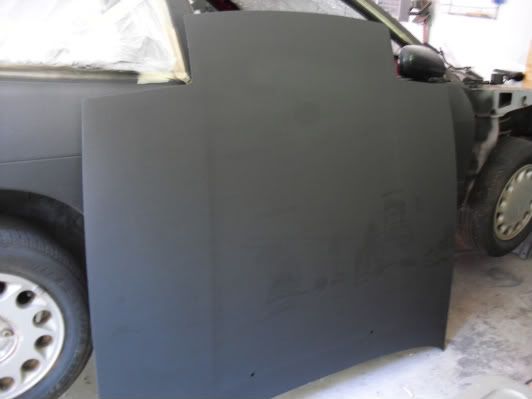
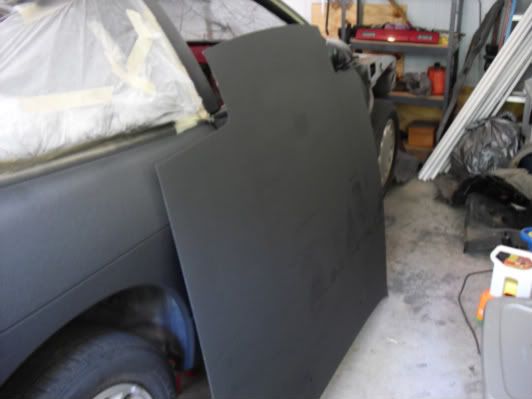
With the thoughts of the end of the world coming about (yeah right), I figured I'd go ahead and update the blog once again. Over the past few days I have been spending time on the bodywork. The fenders and the hood I recently got all had small dents and scratches, so I went ahead and started with some Bondo. A friend of mine helped out with the sanding of the hood since he had access to a electric sander (highly useful by the way). With the sanding, Bondo and primer applied to the top side of the hood, that job only took about 2 hours, whereas sanding by hand has been taking forever. As suggested by my brother I started to fill the lines of the doors and fenders with Bondo too to create a more seamless appearance and I must admit, I like the appearance of the top line so far since I have nearly completed the entire driver side. However, the wide gap line at the bottom portion that wraps the entire car may not turn out as good as I would like, but I'll see when I get there.

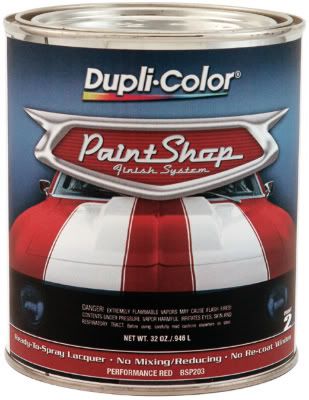
I have also been tossing around the idea of painting the car myself. I ended up going to Harbor Freight to price some guns and what not and came across some useful tools for the current work I'm doing. I ended up getting a metal mixer plate for the Bondo, some metal spreader blades (because the plastic ones take too friggin long to clean), a respirator mask for the painting and a can of paint that I have been very curious about. The paint is part of Dupli-Color's Paint Shop Finish line. This product has been reviewed on many automotive TV shows and has been spoken of highly. It is a lacquer based paint that comes pre-mixed, and is shown as a painting "step" type procedure. The can of primer is marked as step 1, the can of paint color step 2, the can of clear is step 3 or 4 depending on if you use the "metallic" clear first. With all the videos that I have seen and the thought of being a newbie wanting to try my hand at something new, I thought why not.

Photobucket

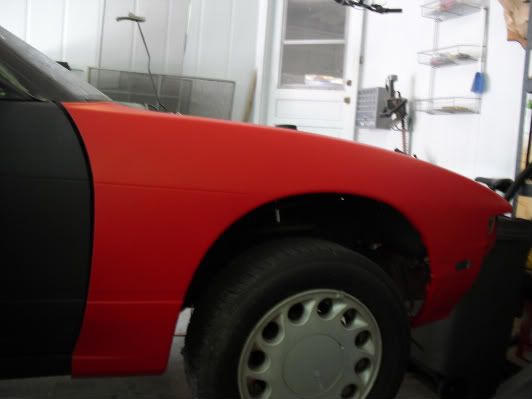
I went ahead and took the passenger side fender over to a friends house because he's got a massive air compressor and I haven't picked one up yet. I had nothing more to this fender than just sand it down and prime it for the test run. Slapping the first base coat down was pretty slow since I needed to tweak the gun settings the whole time to get the spray width and speed just right, but the other two coats went quick after that. I used just shy of a third of the can (which is only a 1 quart can I believe) and it came out great. I didn't use any clear since I just wanted an idea of what the paint would look like and how well I did with my first attempt at painting. Now I am sure this is the paint I will use. I don't have many pictures this time, but I've got a great view of the fender after paint. More to follow next week.

Photobucket

Saturday, May 7, 2011

May 7, 2011

Well, truth be told I've spent a lot of hours with the car, but every time until today, I would forget the darn camera at home. I finally got a chance to get some shots of some pieces I scored off of a donor car. I would have kept it longer to part it out, but city ordinance requires every vehicle parked in front of a home to have a license plate, and I was not about to get that for a donor to be parted out. Not to mention, my brothers neighborhood is very watchful for "eyesores" and the garage is full with my project, so it had to go fast.

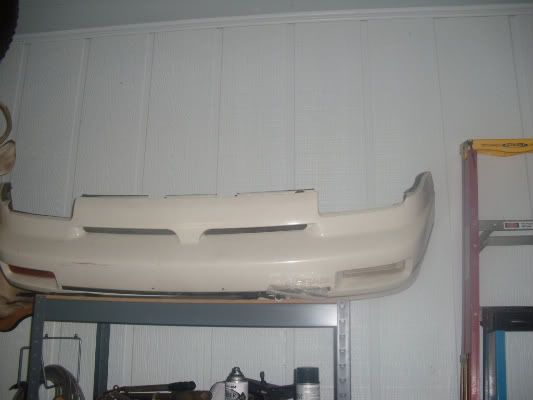
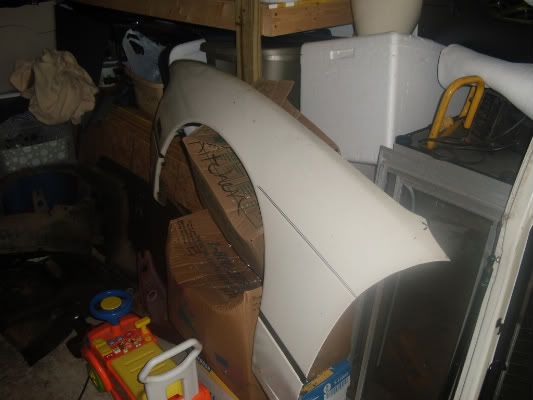
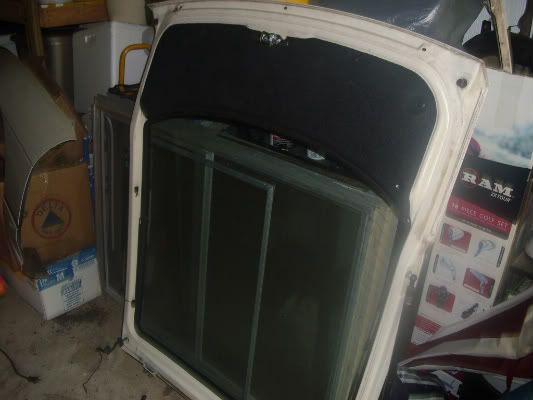
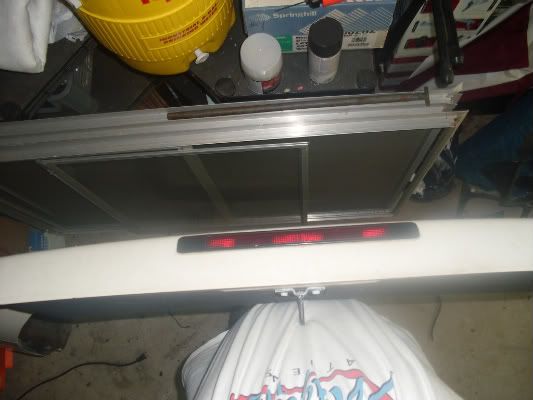
Anyway, bought a 1990 hatch with a badly blown head gasket. It still ran and everything, but compression was very obviously effected on the two mile drive back to my brothers house with it. I was almost considering switching bodies for the S13bay project, but when I started looking close at some parts, there was some paint over-spray on a few pieces behind the driver side fender. When I took it off, it was obvious why. The fender frame was crumbled and pulled into position so as to fit a fender back into place. A couple of the headlight mounting bracket bolts were toast and some twisting in there too. I was happy to keep the shell I currently have. I ended up swapping the hatch I got earlier with the hatch from this car since the other one had a good bit of dents from what I believe to be where someone stood on it and broke the third brake light. I also scored another set of good tail lights, both headlights and mounting brackets with working motors for them, a front bumper, both fenders, and a nearly new brake master cylinder. The brake booster looked brand new too, but I didn't have the patience to take the dash items out of the way to get to it. I went ahead and snapped some shots of what I have.

You'll notice that the car is now fully primed. The past couple of weeks I had been sanding and checking all body panels for any prior damage, i.e. any body filler anywhere. I was pleased to find NONE whatsoever. I laid down a single layer of primer to protect the metal and moved on. Still waiting for a good time to get that front fender section welded in, I don't have a car hauler trailer and they are costing too much to rent here and there to scrap all these cars I've been getting, so I'm hoping somewhere down the line I can borrow one to get it over to my friends place to weld it on. On to what you really want, here are pictures of my new pieces.

Photobucket
Photobucket
Photobucket
Photobucket
Photobucket
Photobucket
Photobucket