Total Pageviews

Sunday, August 28, 2011

August 26, 2011

This past week and a half I took some time off work and thought I would try to get a lot done. Sadly, out of my ten days of vacation time I took, I got around to the car maybe two days out of that. But what was done in those days was quite time consuming for me and helped get to the point of preparing for the first item I will be purchasing from Ebay; the rear sub-frame bushings. Like with any task I try to conquer on this project, I like to study up the procedures, whether I have done it before or not because let's face it, if some dude on the forum did it this way then I can too right? Not always, therefore reading countless threads and articles in performance magazines is always a must for me.

Shortly after it was decided what bushings we were going to be using, I jumped feet first ready to go into every avenue I could find that could give me (a DIY kinda guy) a firm grasp on understanding not only the task I wanted to tackle, but the purpose of the part and what the replacement would do to increase performance. After browsing forums, youtube videos and articles I came across 240sxtechdvds.org. These guys came across as being quite helpful, and very knowledgeable about the platforms they dealt with, repairs and replacements and of course, maintenance. They have a few "teaser" videos on youtube and they give links to their site in the subject line of each of them. I decided to take a mouse click trip to it and what I found was a easy to use and understand explanation of every video, of which they have a great deal of, and a no pressure sales option. I opted for only three of the DVD's just to see if the youtube videos portrayed what the actual videos held in store. I was very pleased. The shipping was fast after a quick paypal payment and there was never any hassle or communication problems with the site owner/operator. The videos are from the eyes of the mechanic, getting close looks at hard to see places, and even an explanation of what size wrenches to use. The walk-through style videos go step by step, explaining not only the S14 chassis, but the difference from that to the S13 chassis. My suggestion to anyone wanting to start going beyond oil changes and tire rotations, go over to the site and see what they can offer you, you will not be disappointed.

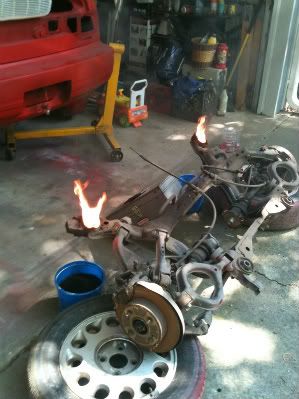
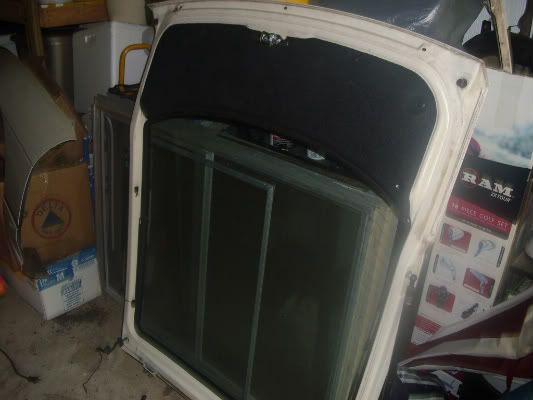
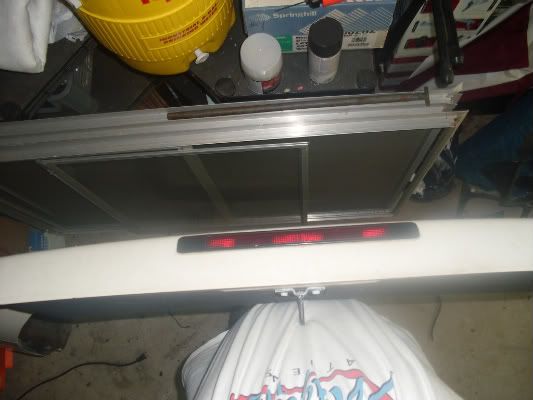
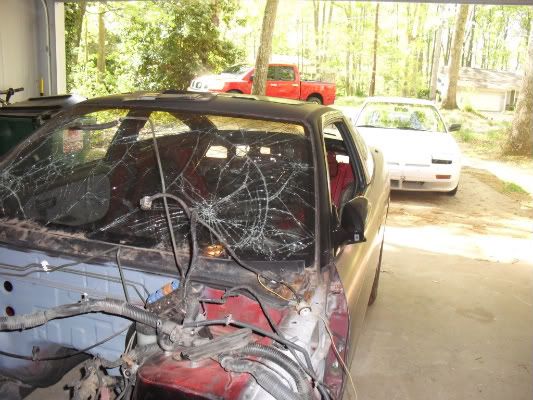
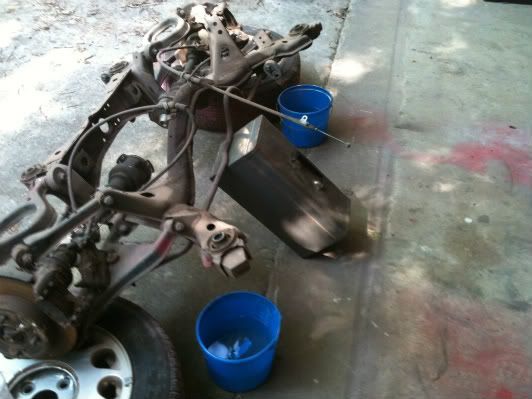
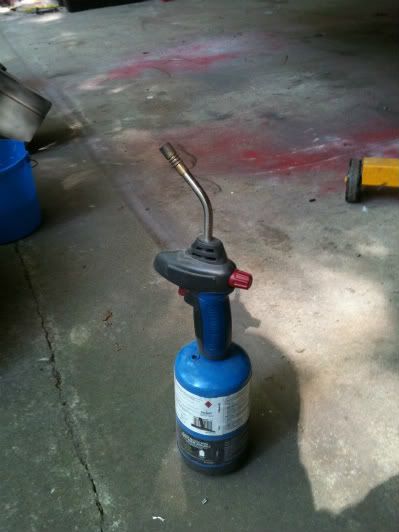
Now that I have gone on with my review of that, let's get to what you really want to see and hear. Yes, I jerked the sub-frame out from under the rear-end of the car, using the DVD narrator's suggestions and walk-through. It was much easier than what your normal daily driver car would have to go through since the car does not have any drive-train, differential, or exhaust piping to remove to get access. I've also got to admit that by having the hatch off and no interior getting in the way made it so very easy to take the air wrench to the top shock bolts. Within minutes I dropped the sub-frame, and pulled it out from under the car. I got a good look at the bushings and was quite surprised that they were still in good condition. No tears or any marks showing the wear I expected to see for the cars age. Knowing that it didn't matter though, I pulled up one of the tires for a seat, light the propane torch that the DVD suggested for burning out the old bushings and got to it. After a few minutes I was relieved that I still had my mask from the painting portion because that smell was thick. After a few hours of torching and scrapping away at the bushings while they burned, a good portion was gone and I was ready to start taking a flat-head screw driver to the remaining bits still clinging to the sleeves. Let me tell you now that if you think for one second that you can do this task in one day, you have a level of patience I will never obtain. After so long of sitting on the tire, lighting one smoke after another, I was finally happy with the amount of material I got out of ONE sleeve. Yes, just one. It is very time consuming to get the material removed and made me consider switching to solid bushings with rubber washer like materials on either side, but I have to tough it out to make sure what is voted for is what gets installed. I took a few pics of the sub-frame, the burning process, and the propane torch I used to get them burned out.
Photobucket

Photobucket

Photobucket

Saturday, August 13, 2011

August 11, 2011

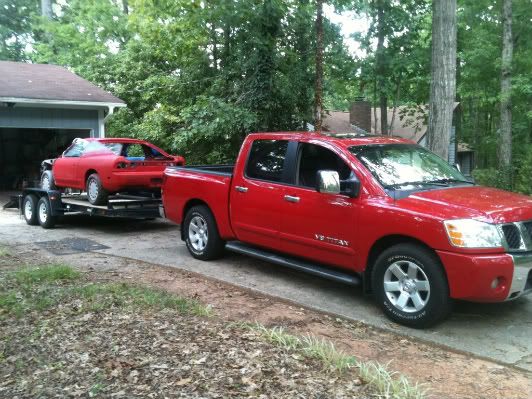
So Thursday was a long day day for me. After dropping one of my kids off at school I got started on some wet sanding on the passenger side. I wasn't all too happy with how it turned out afterwards, so I think painting may be better left alone for now, or at least until I got the entire sub frame dropped and cleaned up all around outside and in. I gave a good friend of mine a call and he agreed to let me borrow his trailer and help me out with welding the new fender piece in. My awesome brother (Thanks Dave!) woke up to help me load her on the trailer and I had to snap a shot of that since I had yet to get a picture of my Nissan truck towing my Nissan toy.

Photobucket

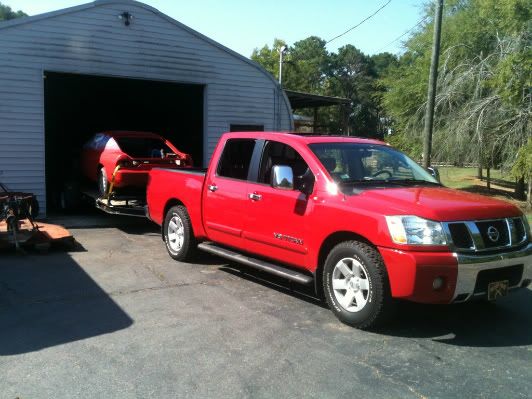
Then I took a shot of it after I backed it into my friends shop that we built.

Photobucket

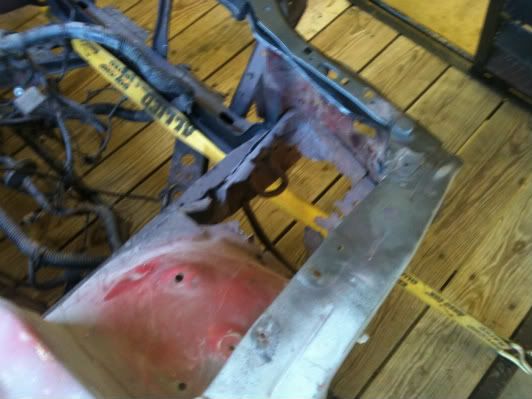
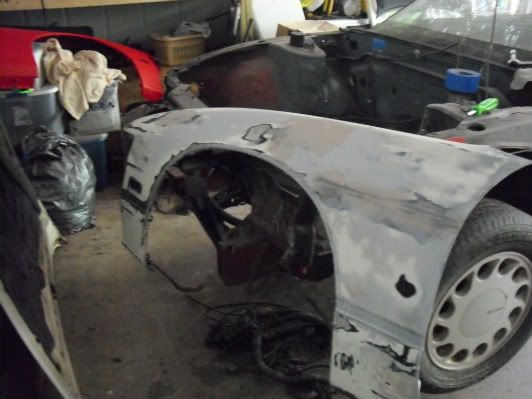
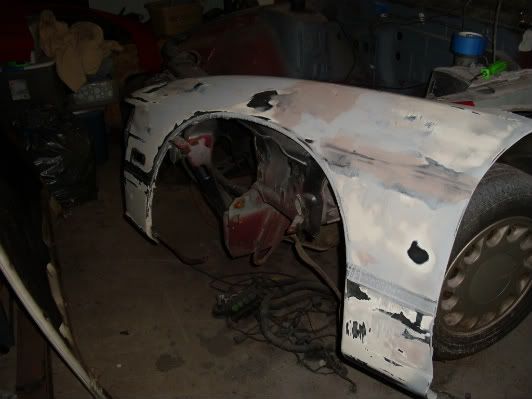
We started off gauging how we would like to tackle the project, and after a few minutes at looking at the rust damaged spots:

Photobucket

And what I had cut from a previous donor car:

Photobucket

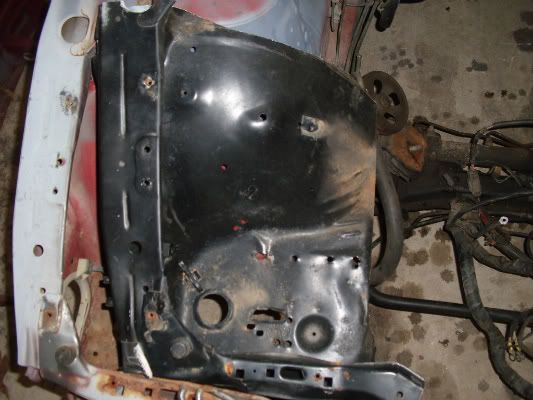
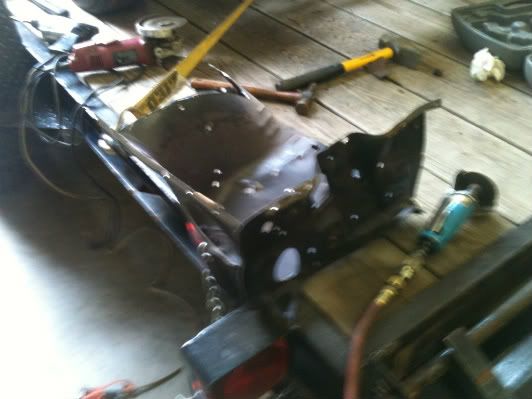
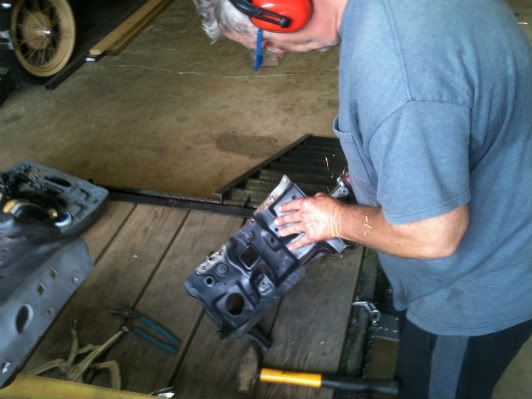
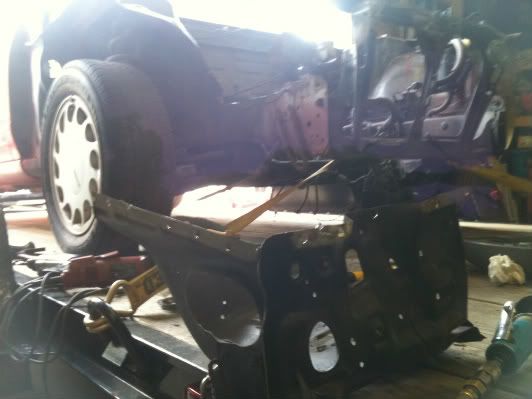
We decided on popping the OEM welds around the fender and donor piece and welding those cut parts in. Here's a shot from that donor piece cut down, as well as the fender piece(less) part we cut off the car. Forgive the fuzziness, all I had for the photo taking was my phone:

Photobucket

Photobucket

Photobucket

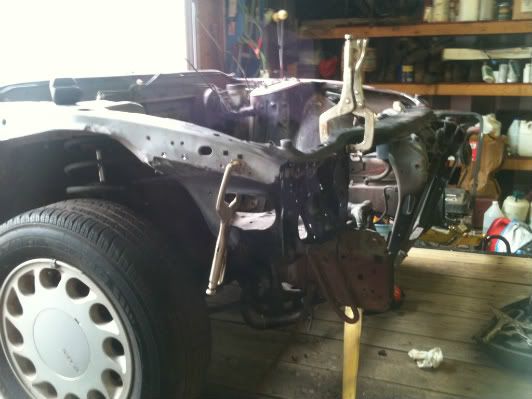
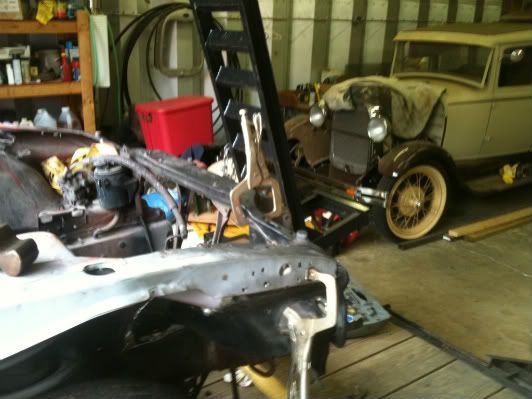
Then we prepped by placing clamps where needed to hold in place for the welds:

Photobucket

Photobucket

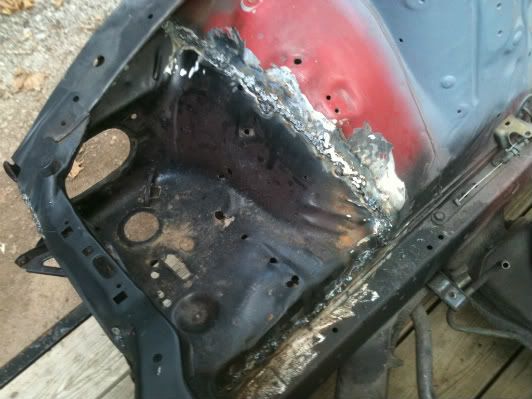
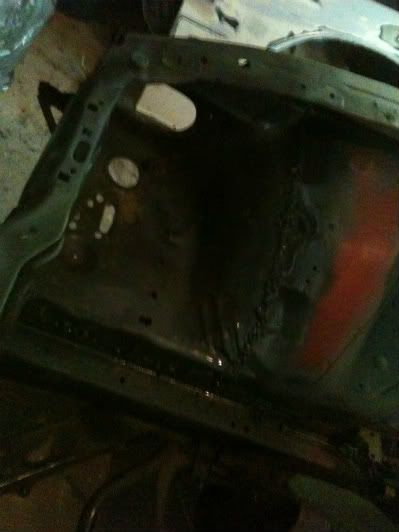
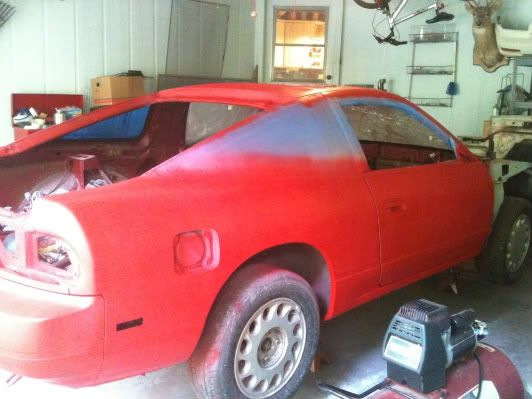
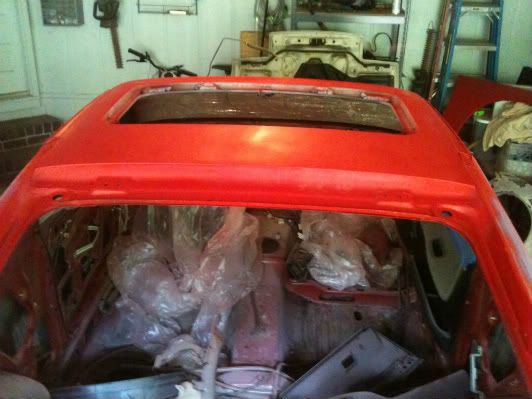
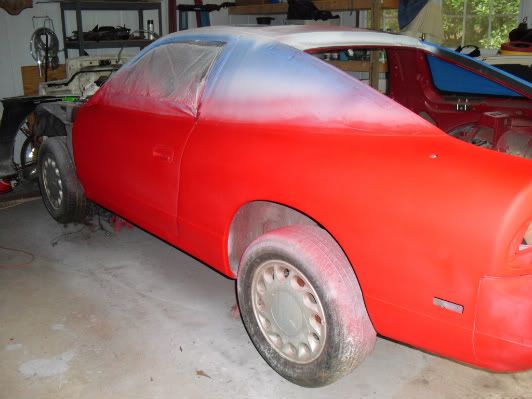
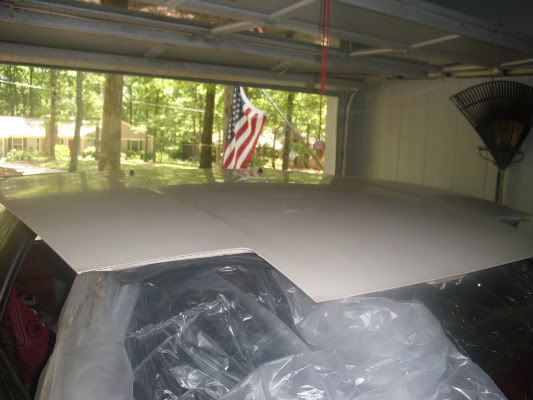
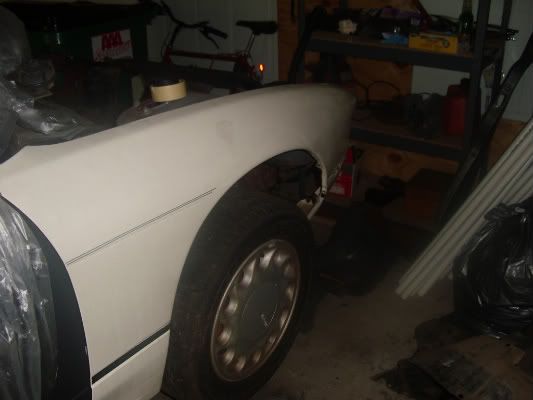
I didn't catch any of the welding process since we were both heavily involved in maintaining the position of the piece and keeping any flames out. We decided that since these pieces were rather thin metal we wanted to build up the welds real good and then grind them down later on when I started to prep the engine bay for paint. I am very pleased with how well the welding went and turned out. It's not too pretty right now, but after hitting it with the grinder then priming and painting the engine bay, she will look near flawless. When I got the car back to my brother's house I went ahead and hit all exposed metal and welds with a quick shot of rust inhibitor from a spray can since I don't have time just yet to grind her down. It actually seems like it didn't take long to do all this but it was very meticulous work and actually took us right around seven hours to get it right and squared. Also, I'm adding pictures of the passenger side as well as the roof that I painted. Still waiting to drop the back bumper, so don't mind the over spray on it since it's not a full on attempt to paint it just yet. Enjoy.
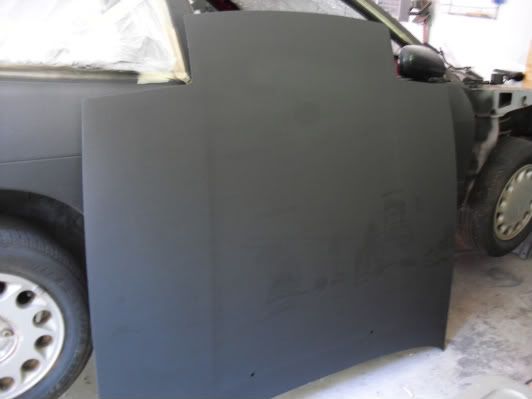
Photobucket

Photobucket

Photobucket

Photobucket

Saturday, July 16, 2011

July 15, 2011

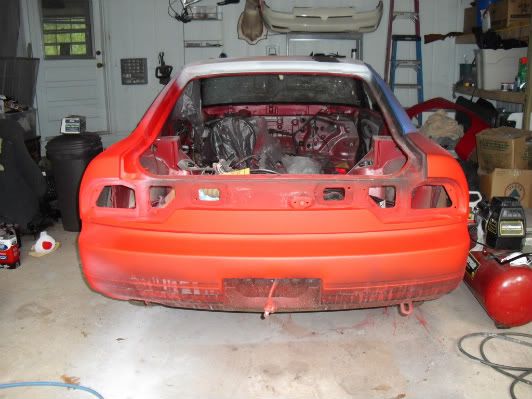
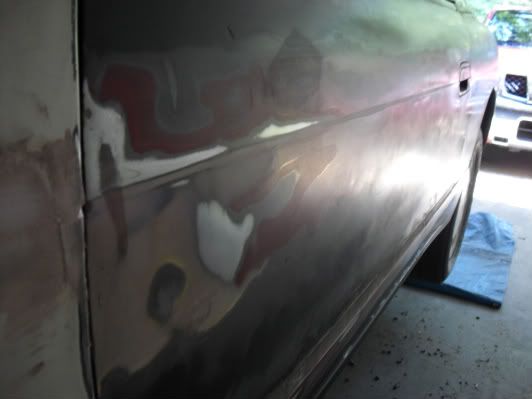
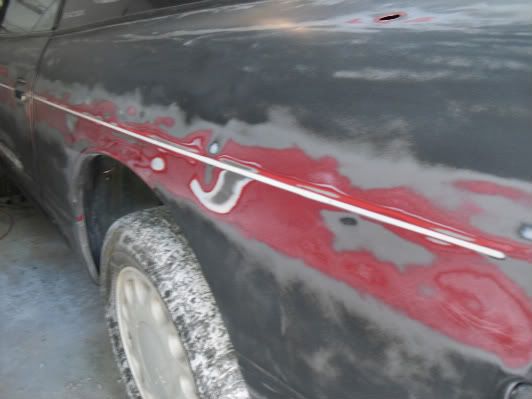
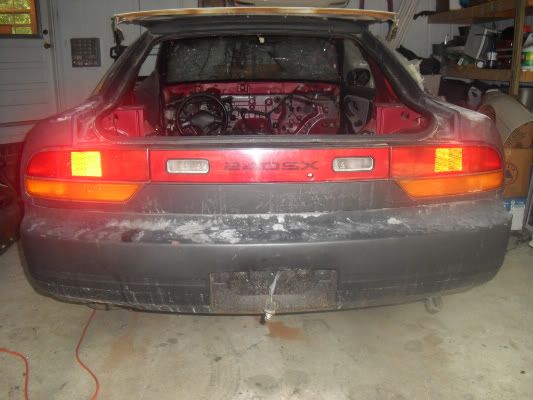
So, I ended up getting a few hours with the car. I sanded down the passenger side and added more body filler to the line and that should be about all I need in the way of body filler outside of the fenders. I did get some sanding done on the driver side fender and also added more body filler to it, i would say maybe another two rounds of building up the body filler and it should be right at perfect. Most of my time however, was spent wet sanding the primer on the driver side prepping for the base coat. It took me nearly two hours of wet sanding with 800 grit sandpaper to get the smooth finish i was looking for. I still had that red paint from the tester fender, so I decided to go ahead and lay down the base coat. I was very surprised at how well the base coat went on, and I was able to coat the entire side three times with less than one quart of the red. I had some left over so I cleaned up the back trim piece under the tail lights and sprayed it as well. I over sprayed onto the back bumper but I really don't care since I will be removing it to sand down imperfections and repair small scratches and what not. I took a couple of pictures as well to note the progress. If you are anything like me, then the pictures is what you are looking for anyway! HAHA! So, here they are:

Photobucket
Photobucket
Photobucket
Photobucket

Saturday, July 9, 2011

July 8, 2011

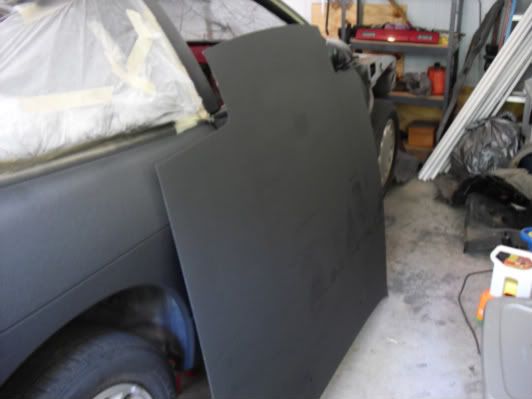
I wasn't able to get as much done today as I had hoped. I spent a great deal of my time with the driver side body work until I was happy with what the results were. I did a very serious amount of sanding and body filler work to the passenger side but ended my day after priming the driver side and masking the rear windows. I'm, still on the fence about the fenders I scored off of a previous donor car, they can be repaired, but I am having serious thoughts about fiber-glassing the fenders and possibly even the outside door shell down the road. Not too sure. I'll edit the post shortly, and add a couple pictures I took of the driver side primed with the top line filled in, I think it turned out great.

Photobucket
Photobucket

Saturday, May 28, 2011

May 27, 2011

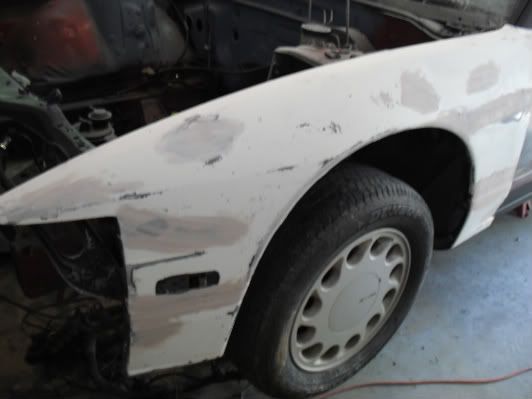
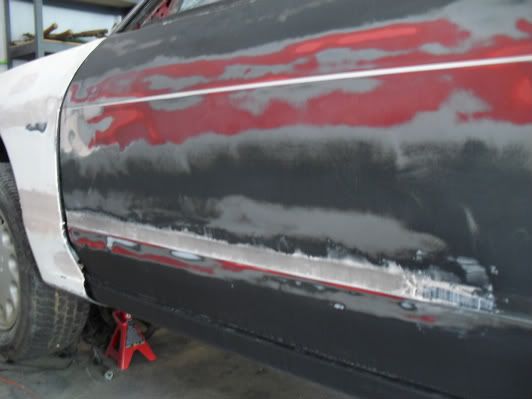
So, after finally taking the camera over to the house, I snapped some pictures of what's really going on with the body work. You'll see in the following pictures that I have filled some dents with Bondo, as well as started to fill the top line that spans from the front fender to the rear quarter panel. I was very pleased at it's outcome and started to look at the lower line that runs around the whole car. I snapped a shot of the start of filling this line in. I would like as much feedback as possible on the lower line and I'll tell you why. The lower line will take an amazing amount of time, work, and anger. Not to mention, because the bottom portion of that line protrudes more, the Bondo will not only have to cover that area, but it also needs to be spread up higher so as to refrain from getting any edges out of it. That is the best reason, for me anyway, to just use my rust removal tool on the drill and just get rid of it. I'm not too fond of the thought of having that much Bondo on there just to rid myself of that line, and to be honest I kind of like that line since it wraps the entire car.

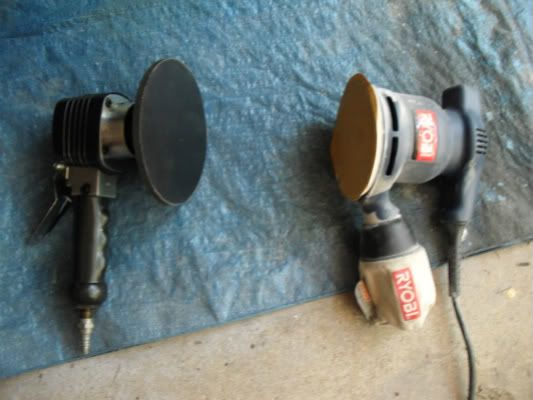
Now onto the tools I am using. If you are just now starting to read this, then I must tell you now that I have never in my life done any sort of body work or painting, I've focused most of my attention on the mechanics of a car, but this car is my learning piece and I would like to have my hand complete as very much of this project as I can. I spend hours on end, reading forums, watching youtube videos all with the intent on learning the best way to complete the task that I will be focusing on. I first started sanding with this car by hand with a high grit sandpaper, and when my shoulder started getting soar, I figured there must be a better way, so I used the almighty Google. I ended up finding out about the sanding equipment I am using by reading forums. Everyone was saying that a good DA (Dual Action) sander is the easiest way to get the sanding time down on this type of work. A buddy of mine just so happened to have an electric one, but I also found one on Ebay that was an air tool going for a steal of a price, so I picked it right up in the last minutes of the auction. Capcityoutlet was the seller, and the shipping was a good price, since the product was used and very cheap for the auction win price of $14.50. The product was bubble wrapped to perfection and came in a box flooded with packing peanuts. This guy wanted to make sure the product got to me fast and in good shape and it did.

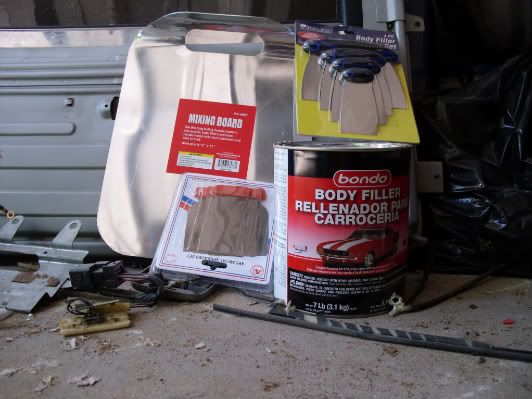
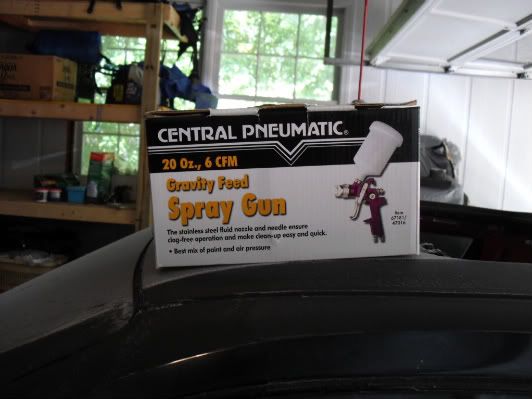
As for the Bondo that I started using, runs about $30 a gallon at Auto Zone, I bought it with the plastic spreaders which were about $2. I wasn't too fond of them so I bought some metal spreaders at Harbor Freight. When I get a chance to use them, I'll post up what I thought of them for use, and the ease of cleaning. I've got to admit, the spray gun was pretty cheap, Harbor Freight had them on sale for $15 and I wanted to see what $15 would get me, and as you have seen on the fender, it did quite well. They also had respirator masks, which I highly suggest for use when painting, for about $20-$22. Easy to use and the filters are interchangeable for newer ones if you want to go that route. Enough of the boring stuff, I'll let this conclude with the pictures.

Photobucket
Photobucket
Photobucket
Photobucket
Photobucket
Photobucket
Photobucket
Photobucket
Photobucket
Photobucket

Saturday, May 21, 2011

May 21, 2011

With the thoughts of the end of the world coming about (yeah right), I figured I'd go ahead and update the blog once again. Over the past few days I have been spending time on the bodywork. The fenders and the hood I recently got all had small dents and scratches, so I went ahead and started with some Bondo. A friend of mine helped out with the sanding of the hood since he had access to a electric sander (highly useful by the way). With the sanding, Bondo and primer applied to the top side of the hood, that job only took about 2 hours, whereas sanding by hand has been taking forever. As suggested by my brother I started to fill the lines of the doors and fenders with Bondo too to create a more seamless appearance and I must admit, I like the appearance of the top line so far since I have nearly completed the entire driver side. However, the wide gap line at the bottom portion that wraps the entire car may not turn out as good as I would like, but I'll see when I get there.

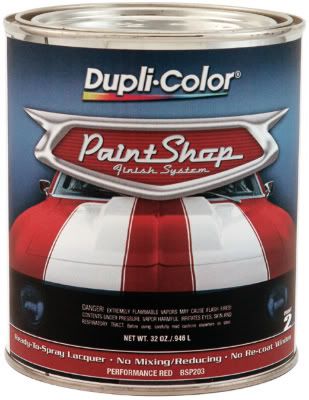
I have also been tossing around the idea of painting the car myself. I ended up going to Harbor Freight to price some guns and what not and came across some useful tools for the current work I'm doing. I ended up getting a metal mixer plate for the Bondo, some metal spreader blades (because the plastic ones take too friggin long to clean), a respirator mask for the painting and a can of paint that I have been very curious about. The paint is part of Dupli-Color's Paint Shop Finish line. This product has been reviewed on many automotive TV shows and has been spoken of highly. It is a lacquer based paint that comes pre-mixed, and is shown as a painting "step" type procedure. The can of primer is marked as step 1, the can of paint color step 2, the can of clear is step 3 or 4 depending on if you use the "metallic" clear first. With all the videos that I have seen and the thought of being a newbie wanting to try my hand at something new, I thought why not.

Photobucket

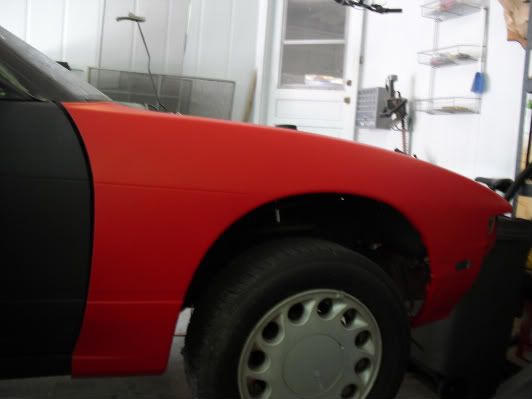
I went ahead and took the passenger side fender over to a friends house because he's got a massive air compressor and I haven't picked one up yet. I had nothing more to this fender than just sand it down and prime it for the test run. Slapping the first base coat down was pretty slow since I needed to tweak the gun settings the whole time to get the spray width and speed just right, but the other two coats went quick after that. I used just shy of a third of the can (which is only a 1 quart can I believe) and it came out great. I didn't use any clear since I just wanted an idea of what the paint would look like and how well I did with my first attempt at painting. Now I am sure this is the paint I will use. I don't have many pictures this time, but I've got a great view of the fender after paint. More to follow next week.

Photobucket

Saturday, May 7, 2011

May 7, 2011

Well, truth be told I've spent a lot of hours with the car, but every time until today, I would forget the darn camera at home. I finally got a chance to get some shots of some pieces I scored off of a donor car. I would have kept it longer to part it out, but city ordinance requires every vehicle parked in front of a home to have a license plate, and I was not about to get that for a donor to be parted out. Not to mention, my brothers neighborhood is very watchful for "eyesores" and the garage is full with my project, so it had to go fast.
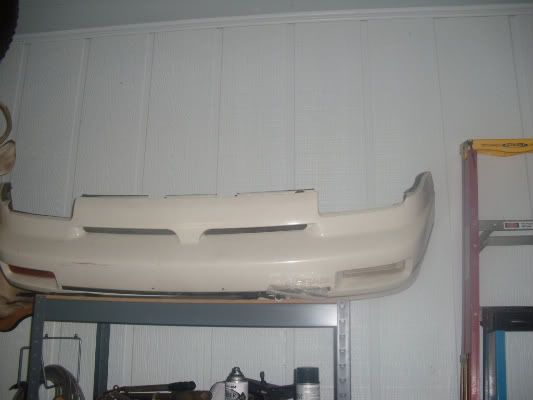
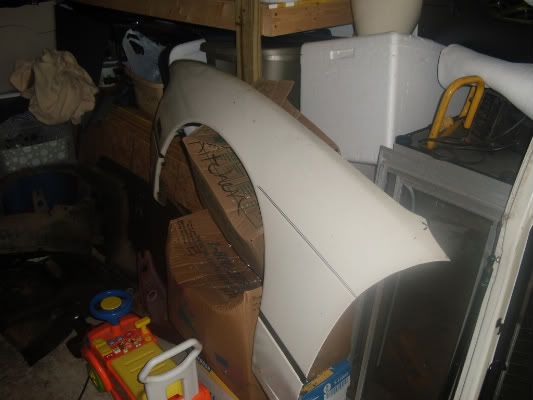
Anyway, bought a 1990 hatch with a badly blown head gasket. It still ran and everything, but compression was very obviously effected on the two mile drive back to my brothers house with it. I was almost considering switching bodies for the S13bay project, but when I started looking close at some parts, there was some paint over-spray on a few pieces behind the driver side fender. When I took it off, it was obvious why. The fender frame was crumbled and pulled into position so as to fit a fender back into place. A couple of the headlight mounting bracket bolts were toast and some twisting in there too. I was happy to keep the shell I currently have. I ended up swapping the hatch I got earlier with the hatch from this car since the other one had a good bit of dents from what I believe to be where someone stood on it and broke the third brake light. I also scored another set of good tail lights, both headlights and mounting brackets with working motors for them, a front bumper, both fenders, and a nearly new brake master cylinder. The brake booster looked brand new too, but I didn't have the patience to take the dash items out of the way to get to it. I went ahead and snapped some shots of what I have.

You'll notice that the car is now fully primed. The past couple of weeks I had been sanding and checking all body panels for any prior damage, i.e. any body filler anywhere. I was pleased to find NONE whatsoever. I laid down a single layer of primer to protect the metal and moved on. Still waiting for a good time to get that front fender section welded in, I don't have a car hauler trailer and they are costing too much to rent here and there to scrap all these cars I've been getting, so I'm hoping somewhere down the line I can borrow one to get it over to my friends place to weld it on. On to what you really want, here are pictures of my new pieces.

Photobucket
Photobucket
Photobucket
Photobucket
Photobucket
Photobucket
Photobucket

Sunday, April 17, 2011

April 17, 2011

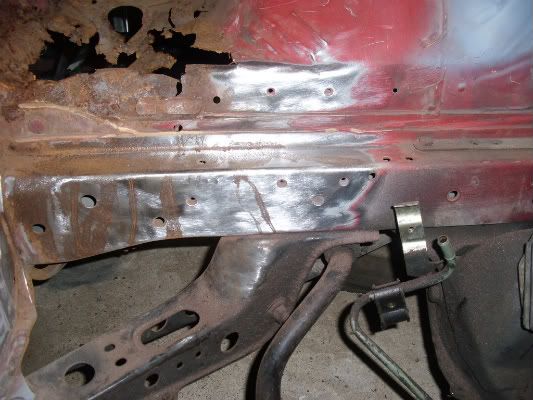
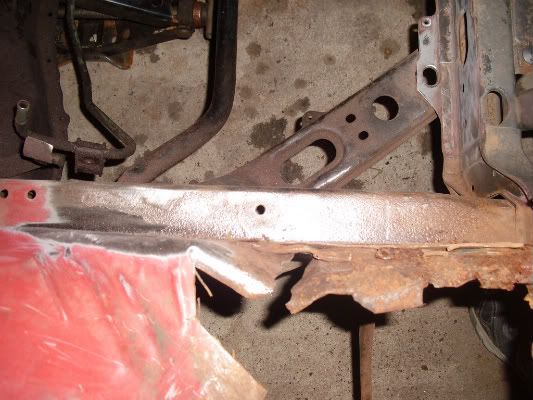
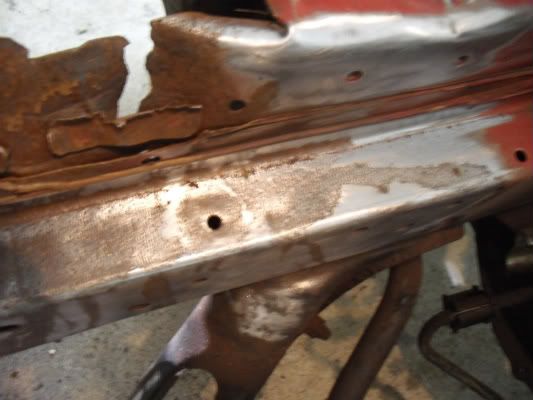
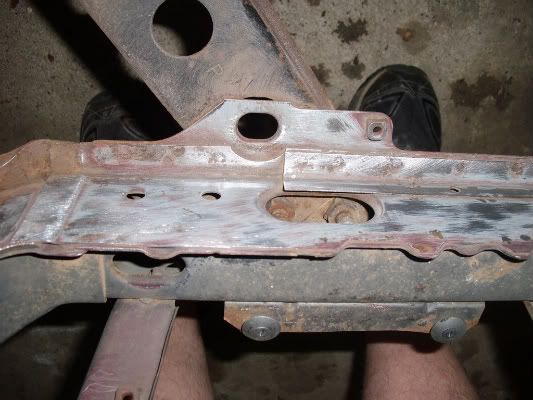
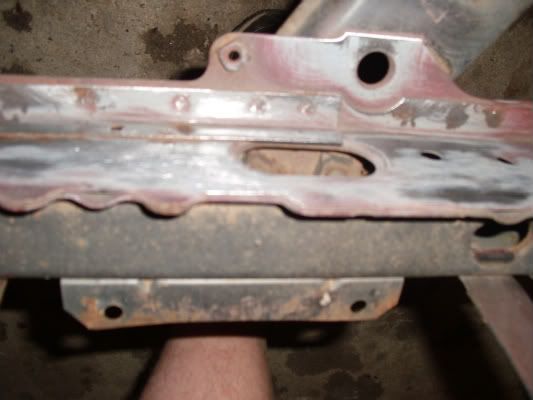
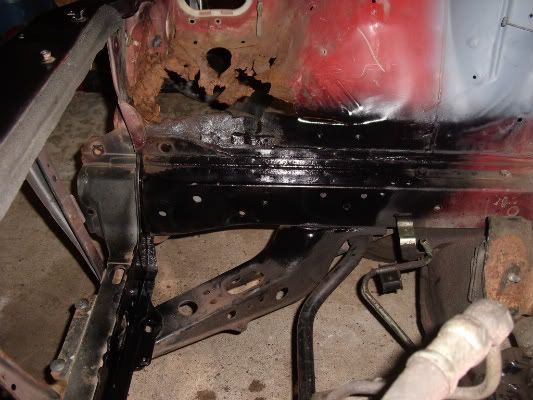
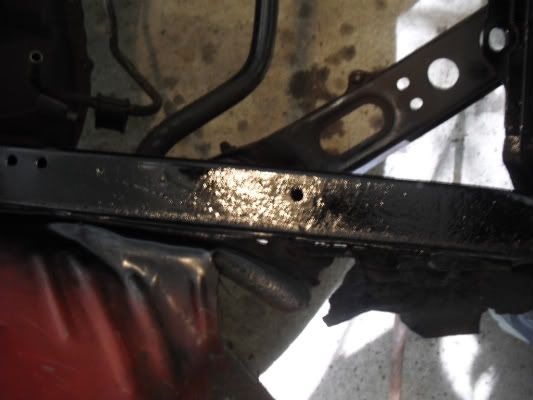
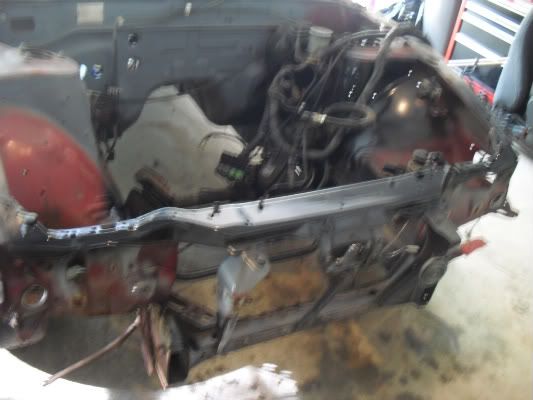
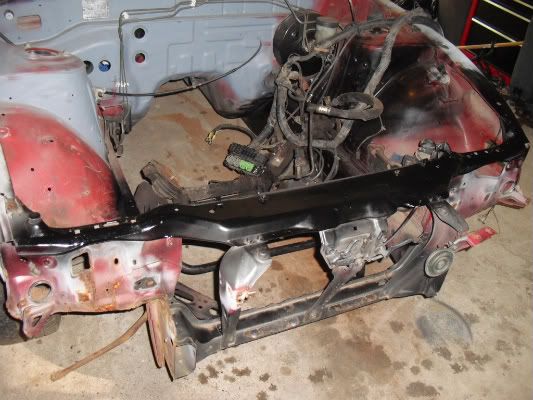
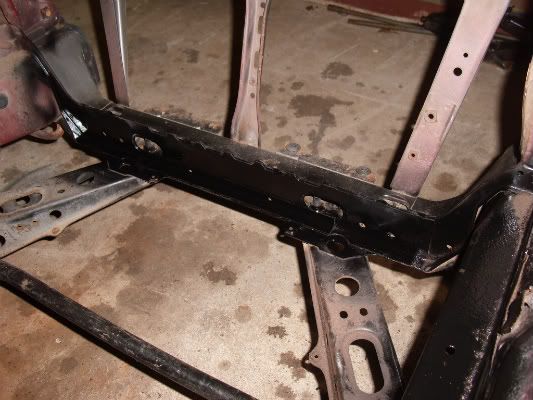
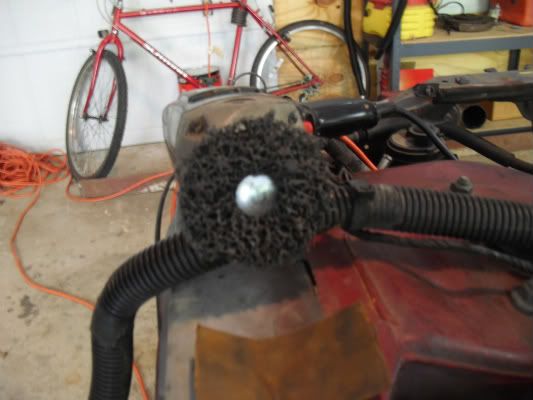
So I decided to let me sleep schedule get out of whack and headed over to work on the car again today. I took that new $5 drill attachment with me to decide if it will make a big enough difference in both the amount of time to get work done, and the ease of the work. Thank goodness the drill had a locking function on the trigger, because the amount of force to get that thing held down would have made the job that much more irritating. I decided to work on the highly rusted battery tray area and frame rail under it for two reasons. I wanted to see if the section there had any ability to be salvaged, and I wanted to clear off the rust and paint from the areas that would need to be clean for welding if it could not be salvaged. I was more than pleased with the results, and very pleased with the ease and speed that it got done. Here's some pictures of the work.

Photobucket
Photobucket
Photobucket
Photobucket
Photobucket
Photobucket
Photobucket
Photobucket
Photobucket
Photobucket
Photobucket
Photobucket
And for good measure, I wanted to include a pic of the shell with my truck and my brothers coupe in the background..lol!
Photobucket

As you can see in the pictures, the pitting from the rust was very extensive, but I believe that now that it is all cleaned up and primed, it still has quite a bit of stability and strength to be good to go. You can also see I did some work on the core support/radiator housing. It cleaned up real nice and looks good as well. I don't know if any of these pictures or previous pictures show it well enough or not, but I ended up using a sledge hammer on the forward facing portion of the headlight area of the core support. It came out looking good, but the rust is still so extensive coming off the battery tray area into the forward facing spot, that I believe I will have to cut it out and use my spare part. You can also see the amount of wear that the wheel took while doing just this small area. Looks like I will be in need of more of them in the future as I will be using this technique to do all the prepping for paint both inside and out. I hope to get over there again in the morning after work, and if so, more pictures will follow.